Building a Production-Ready REST API with Node.js, Express, and PostgreSQL
Build a production-ready REST API with Node.js, Express, and PostgreSQL, adding JWT auth, bcrypt password hashing, validation, and a clean project structure.
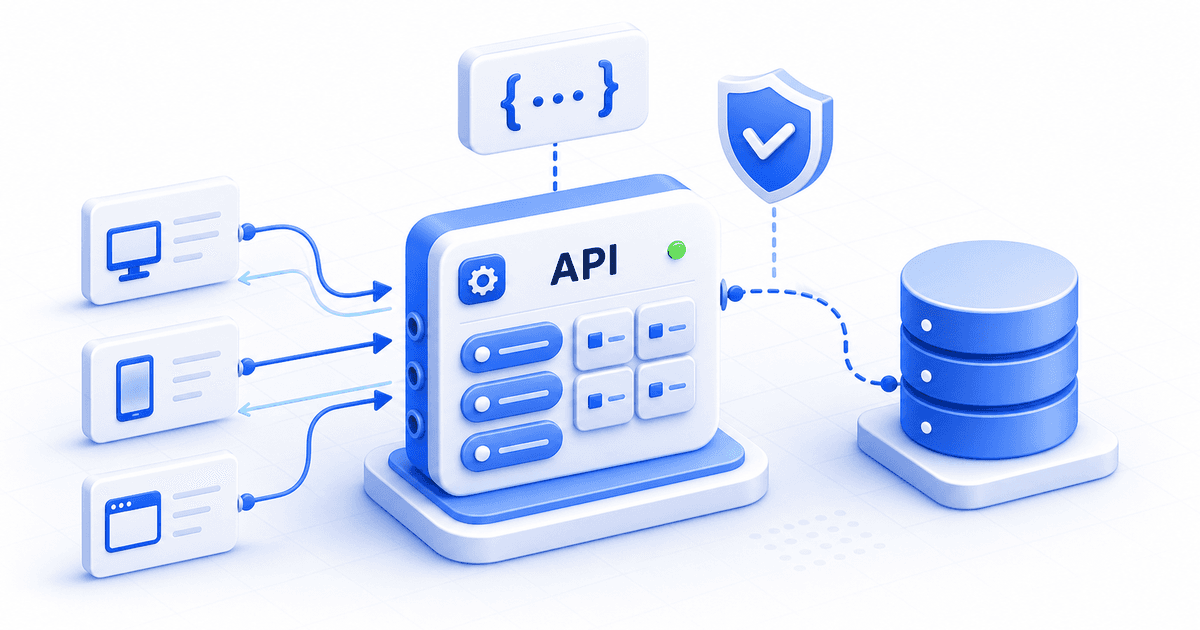
Building a Production-Ready REST API with Node.js, Express, and PostgreSQL
Introduction
REST APIs are the backbone of modern web and mobile applications. Whether you’re building a SaaS platform, a mobile app backend, or integrating third-party services, a well-designed API is critical.
In this tutorial, you’ll learn how to build a production-ready REST API using:
- Node.js – fast, event-driven runtime
- Express.js – lightweight web framework
- PostgreSQL – reliable relational database
- JWT Authentication – secure user access
- Best practices – structure, validation, error handling, and security
By the end, you’ll have a solid API foundation you can reuse for real-world projects.
What We’re Building
A simple User Management API with:
- User registration & login
- JWT-based authentication
- Protected routes
- PostgreSQL persistence
- Clean project structure
Endpoints overview:
| Method | Endpoint | Description |
|---|---|---|
| POST | /auth/register | Create a new user |
| POST | /auth/login | Authenticate user |
| GET | /users/me | Get current user |
| GET | /health | API health check |
Prerequisites
You should be comfortable with:
- JavaScript fundamentals
- Basic HTTP concepts (GET, POST, status codes)
- Command-line usage
Required software:
- Node.js (v18+ recommended)
- PostgreSQL
- npm or yarn
Step 1: Project Setup
Create the project folder and initialize Node.js:
mkdir node-postgres-api
cd node-postgres-api
npm init -y
Install dependencies:
npm install express pg dotenv bcrypt jsonwebtoken express-validator
npm install --save-dev nodemon
Step 2: Project Structure
A clean structure improves maintainability:
src/
├── config/
│ └── db.js
├── controllers/
│ ├── auth.controller.js
│ └── user.controller.js
├── middlewares/
│ ├── auth.middleware.js
│ └── error.middleware.js
├── routes/
│ ├── auth.routes.js
│ └── user.routes.js
├── utils/
│ └── jwt.js
├── app.js
└── server.js
.env
Step 3: Environment Configuration
Create .env:
PORT=3000
DATABASE_URL=postgresql://user:password@localhost:5432/mydb
JWT_SECRET=super_secure_secret
Never commit
.envfiles to version control.
Step 4: Database Connection
src/config/db.js
const { Pool } = require('pg');

const pool = new Pool({
 connectionString: process.env.DATABASE_URL,
});

module.exports = pool;
Step 5: Database Schema
Create a users table:
CREATE TABLE users (
 id UUID PRIMARY KEY DEFAULT gen_random_uuid(),
 email TEXT UNIQUE NOT NULL,
 password TEXT NOT NULL,
 created_at TIMESTAMP DEFAULT NOW()
);
Step 6: Express App Initialization
src/app.js
const express = require('express');
const app = express();

app.use(express.json());

app.get('/health', (_, res) => {
 res.json({ status: 'ok' });
});

module.exports = app;
src/server.js
require('dotenv').config();
const app = require('./app');

const PORT = process.env.PORT || 3000;

app.listen(PORT, () => {
 console.log(`Server running on port ${PORT}`);
});
Step 7: Authentication Logic
JWT Utility
src/utils/jwt.js
const jwt = require('jsonwebtoken');

exports.signToken = (payload) =>
 jwt.sign(payload, process.env.JWT_SECRET, { expiresIn: '1h' });
Register Controller
src/controllers/auth.controller.js
const bcrypt = require('bcrypt');
const pool = require('../config/db');
const { signToken } = require('../utils/jwt');

exports.register = async (req, res) => {
 const { email, password } = req.body;

 const hashed = await bcrypt.hash(password, 10);

 const user = await pool.query(
 'INSERT INTO users(email, password) VALUES($1,$2) RETURNING id,email',
[email, hashed]
); const token = signToken({ id: user.rows[0].id }); res.status(201).json({ token }); };
Login Controller
exports.login = async (req, res) => {
 const { email, password } = req.body;

 const user = await pool.query(
 'SELECT * FROM users WHERE email=$1',
[email]
); if (!user.rows.length) { return res.status(401).json({ error: ‘Invalid credentials’ }); } const valid = await bcrypt.compare(password, user.rows[0].password); if (!valid) { return res.status(401).json({ error: ‘Invalid credentials’ }); } const token = signToken({ id: user.rows[0].id }); res.json({ token }); };
Step 8: Authentication Middleware
src/middlewares/auth.middleware.js
const jwt = require('jsonwebtoken');

module.exports = (req, res, next) => {
 const token = req.headers.authorization?.split(' ')[1];

 if (!token) return res.sendStatus(401);

 try {
 req.user = jwt.verify(token, process.env.JWT_SECRET);
 next();
 } catch {
 res.sendStatus(403);
 }
};
Step 9: Protected User Route
src/controllers/user.controller.js
const pool = require('../config/db');

exports.me = async (req, res) => {
 const user = await pool.query(
 'SELECT id,email FROM users WHERE id=$1',
[req.user.id]
); res.json(user.rows[0]); };
Step 10: Routes
src/routes/auth.routes.js
const router = require('express').Router();
const ctrl = require('../controllers/auth.controller');

router.post('/register', ctrl.register);
router.post('/login', ctrl.login);

module.exports = router;
src/routes/user.routes.js
const router = require('express').Router();
const auth = require('../middlewares/auth.middleware');
const ctrl = require('../controllers/user.controller');

router.get('/me', auth, ctrl.me);

module.exports = router;
Mount routes in app.js:
app.use('/auth', require('./routes/auth.routes'));
app.use('/users', require('./routes/user.routes'));
Step 11: Error Handling Best Practice
Centralized error handling improves stability:
app.use((err, req, res, next) => {
 console.error(err);
 res.status(500).json({ error: 'Internal server error' });
});
Step 12: Security & Production Tips
Use HTTPS
Enable rate limiting
Validate inputs (express-validator)
Rotate JWT secrets
Use migrations (e.g., Prisma / Knex)
Log errors (Winston / Pino)
Conclusion
You’ve built a clean, secure, and scalable REST API with:
- JWT authentication
- PostgreSQL persistence
- Structured Express architecture
- Production-ready practices
This foundation can power SaaS platforms, dashboards, mobile apps, or automation systems.
Next Steps
- Add refresh tokens
- Implement role-based access
- Add tests (Jest + Supertest)
- Dockerize the API
- Add GraphQL layer (Apollo / WPGraphQL-style)