Getting Started with Lineserve Cloud: Launch Your First VPS
Launch your first VPS on Lineserve Cloud: pick a size, choose Ubuntu LTS, log in with SSH keys, run first-boot updates and ufw, then add a domain and Let’s Encrypt HTTPS.
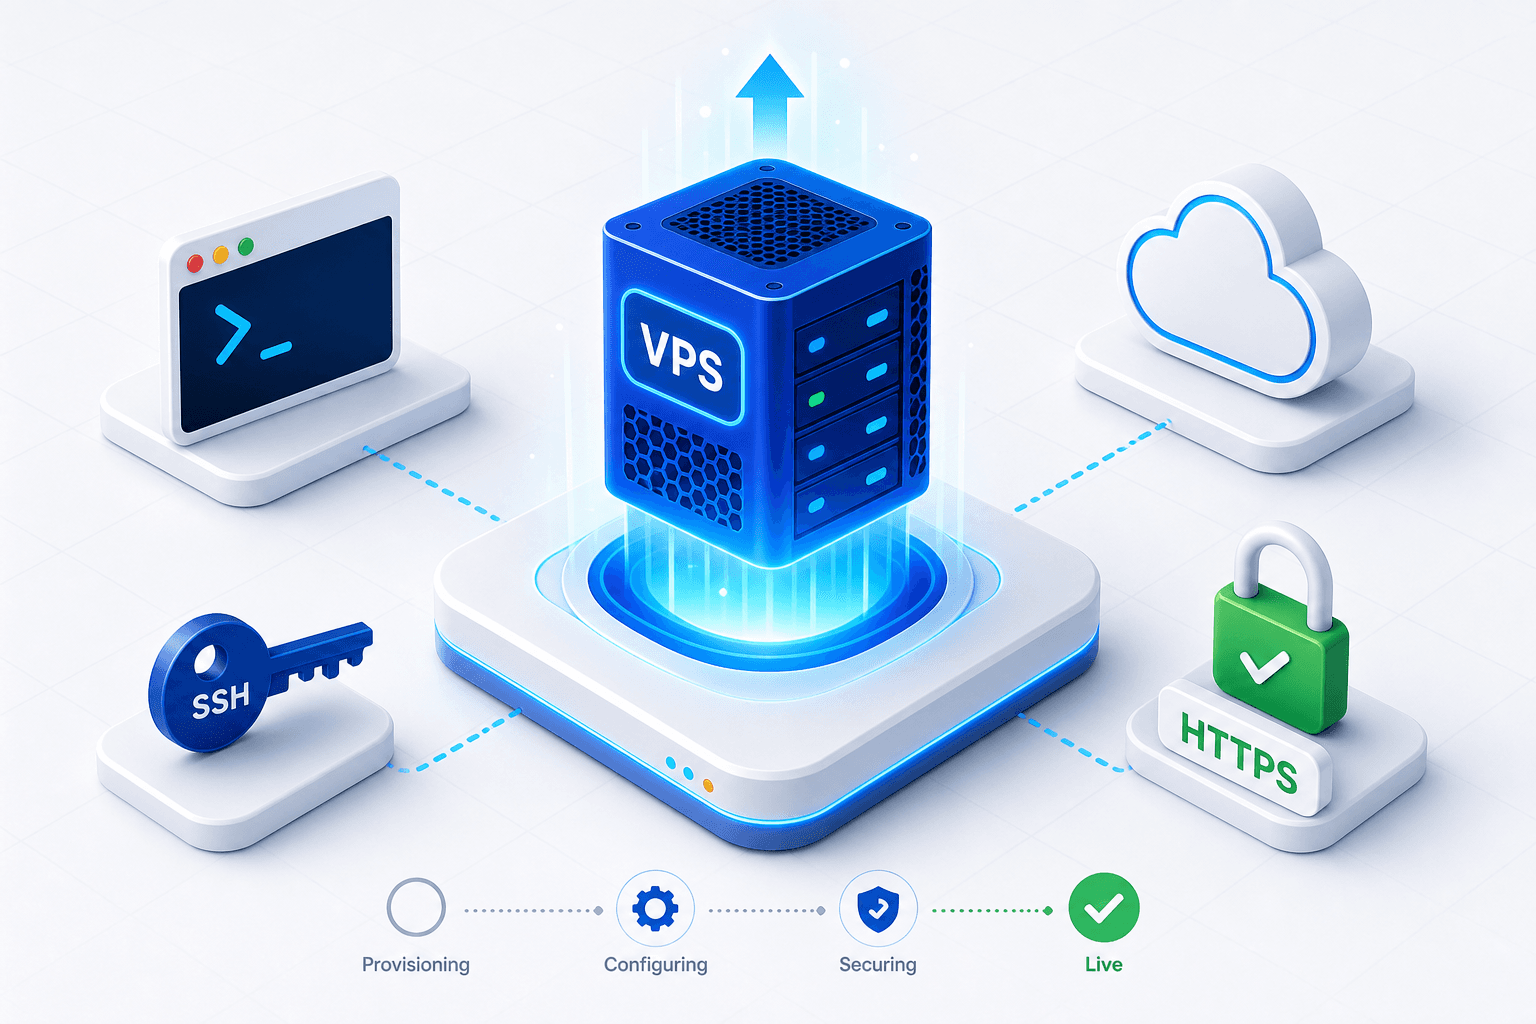
Spinning up your first virtual private server can feel intimidating if you have only ever used shared hosting. The good news: a modern VPS gives you full control, predictable performance, and room to grow — and getting started takes minutes, not hours. This guide walks you through launching your first server on Lineserve Cloud and getting it production-ready.
1. Pick the right size for the job
Start small. A single vCPU with 1–2 GB of RAM comfortably runs a personal site, a small API, or a staging environment. You can resize later, so there is no need to over-provision on day one. As a rule of thumb: match RAM to your application’s working set, and CPU to how much concurrent traffic you expect.
2. Choose an operating system
Ubuntu LTS is the safest default for most workloads — it is well documented, widely supported, and receives long-term security updates. If you prefer something leaner, Debian is an excellent choice. Pick an LTS or stable release so you are not chasing breaking changes.
3. Log in with SSH keys, not passwords
Before you create the server, generate an SSH key pair on your local machine:
ssh-keygen -t ed25519 -C "[email protected]"Add the public key when you provision the VPS. Key-based authentication is both more convenient and dramatically more secure than passwords. Once the server is up, connect with:
ssh root@your-server-ip4. Do the first-boot essentials
The first five minutes on a new server matter. Update packages, create a non-root user, and enable a firewall:
apt update && apt upgrade -y
adduser deploy
usermod -aG sudo deploy
ufw allow OpenSSH
ufw enable
From here on, log in as your deploy user rather than root. This one habit prevents a huge class of accidental — and malicious — damage.
5. Point your domain and add HTTPS
Create an A record pointing your domain at the server’s IP address. Once DNS resolves, install a web server such as Nginx and grab a free TLS certificate with Let’s Encrypt:
apt install nginx certbot python3-certbot-nginx -y
certbot --nginx -d yourdomain.com
You’re live
That is the entire path from zero to a secure, HTTPS-enabled server. From here you can deploy your application, set up automated backups, and add monitoring. In upcoming posts we will cover infrastructure as code, security hardening, and scaling — but every one of them starts with the server you just launched.